Lighting represents one of the most important aspects of filmmaking. Whether you’re shooting short films, documentaries, or even interviews, lighting can makes or break any picture. [fc id=’6′ type=’popup’][/fc]
And if you have a specific lighting style in mind for your project, you can even work it into your pitch. Producing with a unique vision in mind is key to raising funding for your projects. Subscribe to our email list here to receive updates on funding opportunities, and receive a free film budget template.
It always helps to have an experienced cinematographer on set, but knowing the basics of lighting setups will immensely help you when writing, producing, and directing. Being able to visualize scenes is key.
Film, at its core, is a visual medium, and lighting plays such a large role in the way a movie looks. Everything in the film is important, but bad lighting is always a dead giveaway of an amateur production. So it’s important to understand how to light scenes.
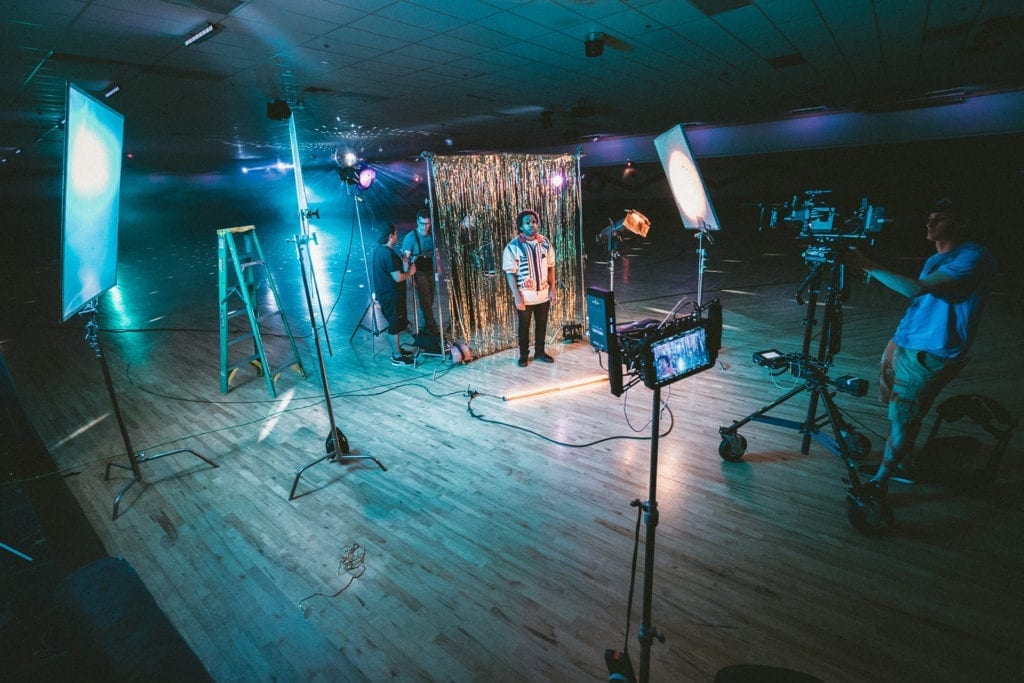
In this post, you’ll read about the primary types and styles of lighting, how to create them, and what their effects are on the mood of a scene. We’ll also explore how to achieve these styles when working with ultra-low budgets.
Because of everything you may have going on on set, it can be easy to overlook the importance of lighting when setting up your scenes. The primary aspect to think about with lighting is how certain lights are placed in regard to a subject. Don’t overthink it. Ask yourself: how are you lighting your subject? What’s the mood?
The classic lighting setup is called three-point lighting, which consists of a key light, a fill light, and back (or hair) light.
Key Light
The key light is commonly positioned next to a camera and lights the subject. Key light is important when it comes to casting shadows and contrasting light against darkness, which creates depth, giving the picture a cinematic feel.
Depending on your story, you want to make sure you’re not lighting your scenes too flatly. Be careful with shadows, though, as casting unintentional shadows can ruin a scene.
The distance of your key light from your subject as well as the light’s brightness will also affect the overall image.
Fill Light
The second light we’ll consider in the three-point lighting setup is the fill light, which “fills” in the darkness left by the key light.
The fill light is powerful, but it’s not as powerful as the key light. The fill light helps to create soft lighting with fewer harsh shadows, resulting in what some may call “high key” lighting.
High key lighting is a flatter style of lighting with fewer shadows, with more light projected onto the subject. It’s often found in comedies, romances, and commercials. Always make sure your lighting style is intentional and that it matches the story you’re trying to tell, whatever that may be.
Low key lighting is the opposite of high key light. With little fill light, there are more shadows and thus more depth, making the scene more dramatic. A great alternative to a fill light when working on a budget is to use a diffuser or a reflector. A diffuser works to scatter light evenly on the subject by covering the fill light with a thin sheet or, simply, “diffusion.” A reflector works similarly, but instead of a sheet, or a fill light at all, the light from natural or key light reflects evenly onto the subject.
Back or Hair Light
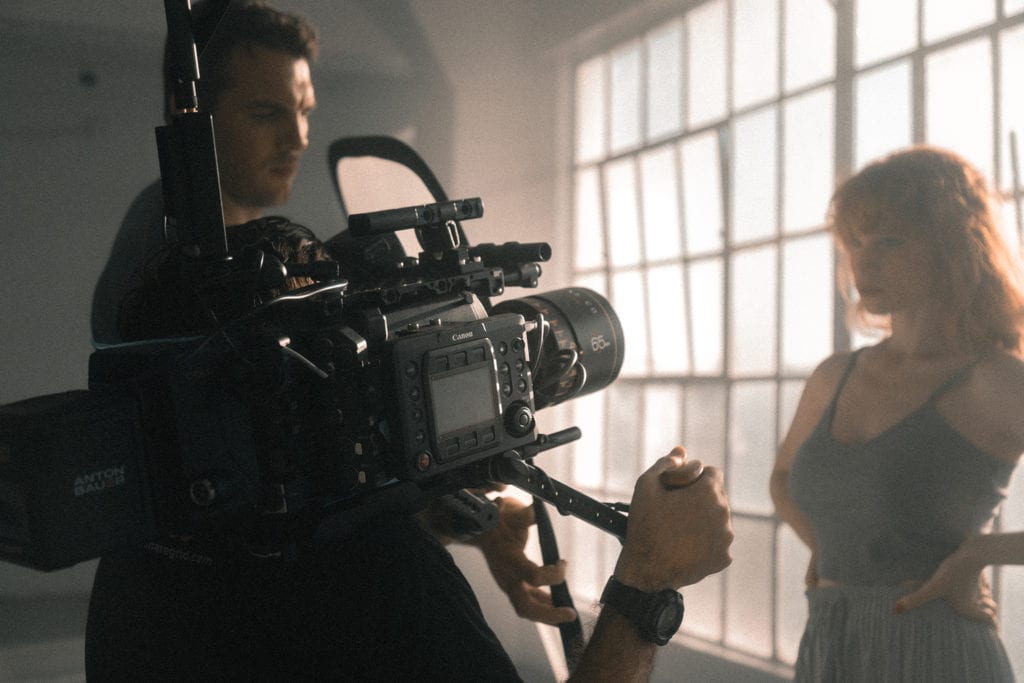
The third light in the three-point lighting setup is the back light. The back light is exactly what it sounds like: it lights the back of your subject. Sometimes people will call it a “hair light,” as it’s often used to highlight a person’s hair.
This light is important for lighting the back of the subject and giving him or her a rim effect around their body (assuming your subject is an actual person).
Something important to note about the back light: if using DIY video lighting, natural light from a window can make for a great substitute to an actual back light–just make sure you’re exposing properly for the window.
Those three lights are the most important lights you’ll need to know about as a filmmaker.
Below we’ll explore some types of lighting styles.
Flat Lighting
Flat lighting occurs when the key light is placed directly in front of the subject. The result is a flat, even spread of light across the subject’s face. As discussed earlier in the post, flat lighting is considered “high key” lighting, as it produces little to no shadows or depth.
This style of lighting is commonly used in comedies, romances, and commercials, as the lighting presents the viewer with a brighter, more attractive subject. If shooting on a small budget, a good alternative to using a traditional tungsten or LED light is to use a ring light, a cheaper, easy-to-use light that can be attached to your camera, handheld, or placed on a stand.
Loop Lighting
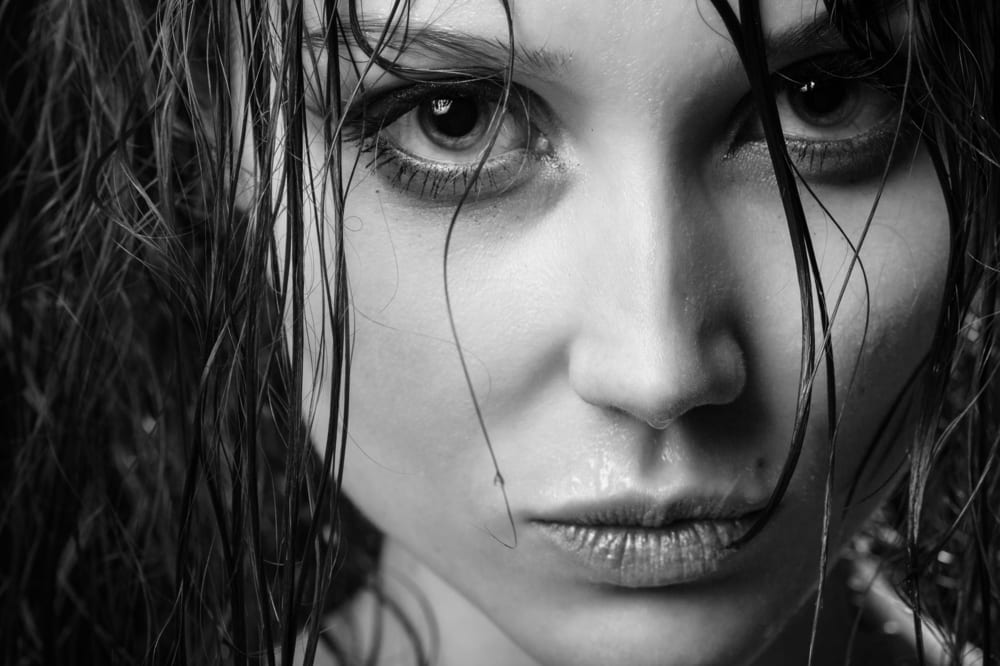
As common as flat lighting is in contemporary video and filmmaking, it can be a bit boring. With loop lighting, things get more interesting. This lighting style is used widely across many forms of film from documentaries to blockbuster action movies.
You can achieve loop lighting when the key light is set to the side of the subject and then slightly raised above the subject’s eye line. This placement causes light to hit the subject’s nose, casting a shadow in the shape of a loop onto the subject’s face, hence why it’s called “loop lighting.”
Loop lighting is very effective when working subjects with round faces, as the light helps to highlight the jawline. It adds depth to your scene, which can greatly help provide a sense of drama.
Rembrandt Lighting
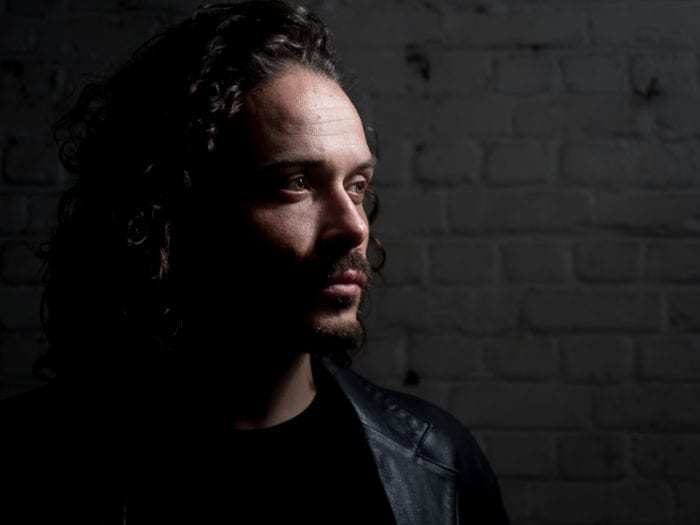
Rembrandt lighting is a common sight in many present and past Hollywood movies, and it’s most famous for its appearances in film noir.
Rembrandt lighting is similar to loop lighting in that the key light is positioned at the subject’s side. However, the key light is positioned much farther away and angled down.
The key light’s position will cast a large shadow against the subject’s face, resulting in a connection of the nose and cheek shadows. This connection forms a small triangle of light on the subject’s cheek. This style is named after famous Dutch painter Rembrandt Harmenszoon van Rijn, who would use a similar style of lighting in his paintings.
Butterfly Lighting
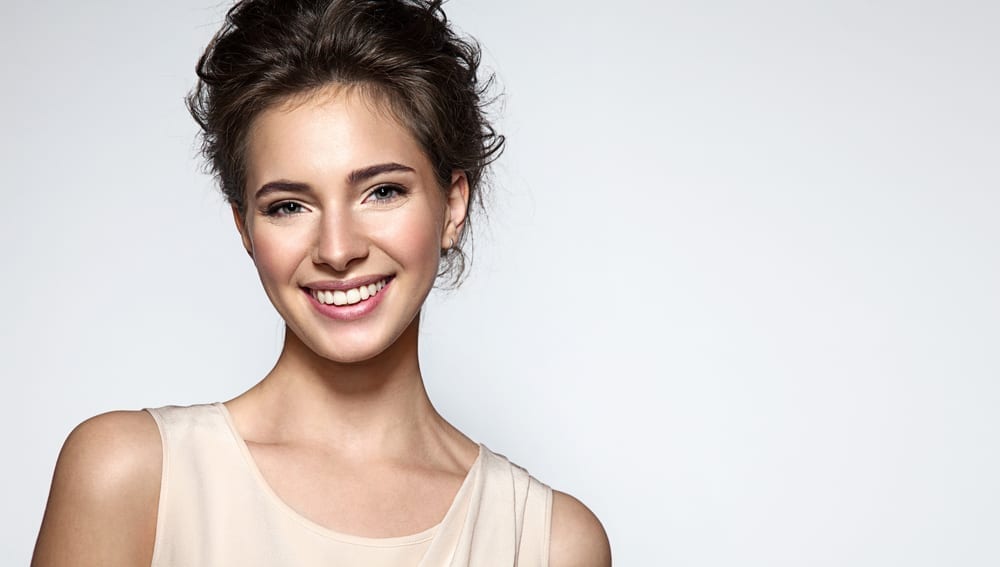
Butterfly Lighting, or Dietrich lighting, has the key light shining directly in front of and then raised to the subject’s forehead or higher. The result of this style of lighting is a small, butterfly-like shadow under the nose. The lighting accentuates the cheekbones and also creates strong depth in the face. It’s commonly used to light female characters in film and photography.
Butterfly lighting was made famous by Marlene Dietrich and director Josef von Sternberg in the 1932 film Shanghai Express. A simple way to create this type of lighting on a low budget is by raising one of the lights in height.
Split Lighting
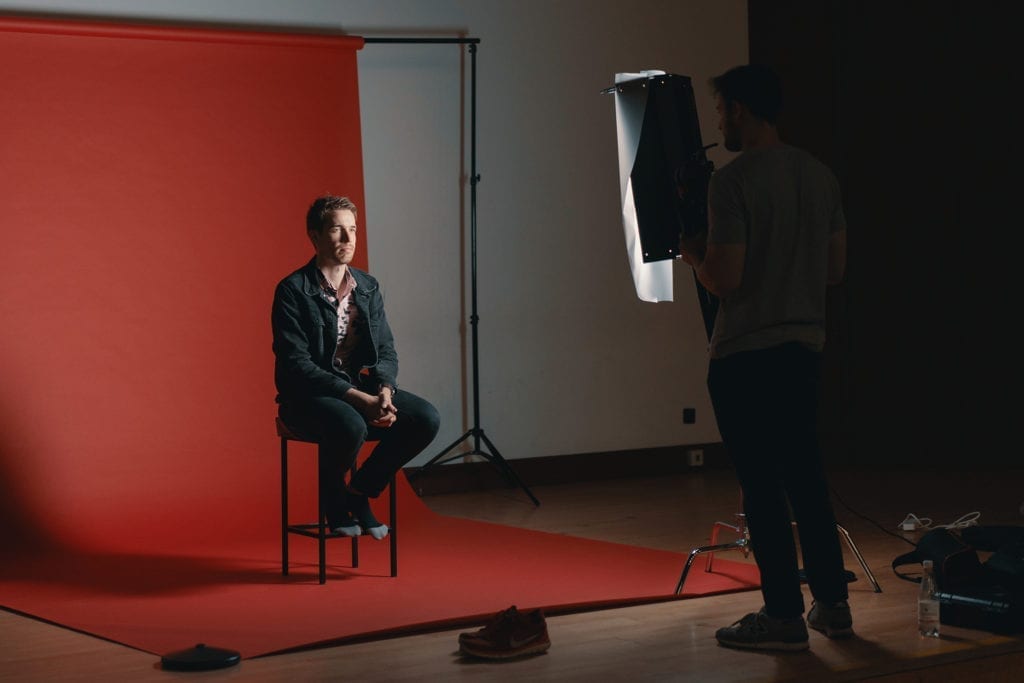
Split Lighting causes the subject’s face to be split in half between light and shadow. This occurs when the key light is placed far to one side of the subject and the fill light is removed completely, causing a stark contrast on the subject’s face. Split lighting creates heavy depth and truly adds to the drama of any scene it’s in. This lighting is common narrative films far more than non-narratives such as documentaries and sitcoms.
This style can easily be achieved through LED strip lights, as they give off strong light while remaining inexpensive.
Broad and Short Lighting
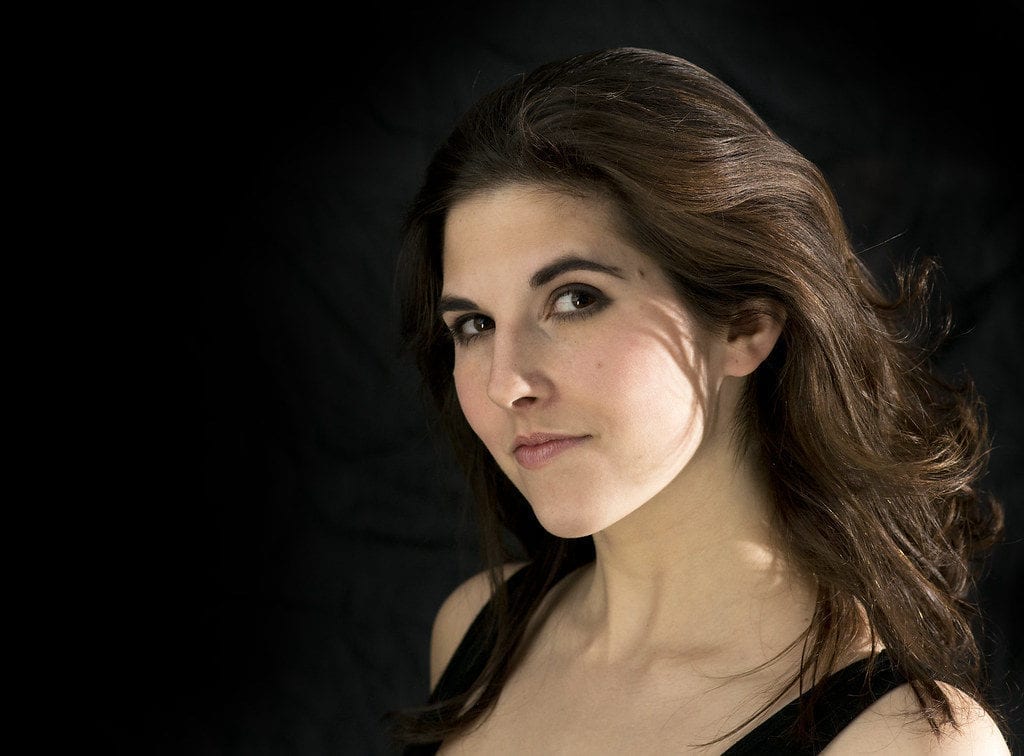
Broad light is the result of taking the camera and positioning it towards the lit part of the subject’s face. Short light is the opposite of broad light, and it involves moving the camera to the dark part of the face.
Short light is considered more ideal than broad light when trying to shoot with more drama and depth.
Good lighting is one of those things that separates the amateurs from the pros. Even when working with an ultra-low budget, successful lighting techniques are still possible, which will lend higher production value to your projects.