Film Lighting Tips & Tricks
“To really understand light and be able to light, you have to understand how it makes you feel.” – Roger Deakins
Roger Deakins, a renowned cinematographer, credited for movies such as 1917 and Blade Runner 2049, argues that the image stored in your head is more important than traditional film lighting techniques.
In essence, effective film lighting is achieved when you’re able to evoke meaning and a specific mood within your shots. What are you trying to tell your audience? How do you want them to feel?
Check out Roger Deakin’s “Learn to Light” YouTube video if you’re interested in learning more about his viewpoint on film lighting.
We’re not saying that filmmakers should avoid using traditional lighting setups, we’re simply implying that you shouldn’t feel restrained or limited when lighting your films. Impeccable lighting is achieved when thinking outside of the box.
Whether you’re an experienced or beginner filmmaker, it’s crucial to learn film lighting techniques as they can greatly enhance the visual aesthetics and emotion of your film.
Once you learn the basics of film lighting and some common techniques used in the film industry, you’ll be able to apply what you’ve learned to your projects and potentially come up with some new ones of your own.
So, without further ado, let’s jump into some film lighting tips and tricks that can greatly improve the look and feel of your independent films.
Know The Basics Of Film Lighting
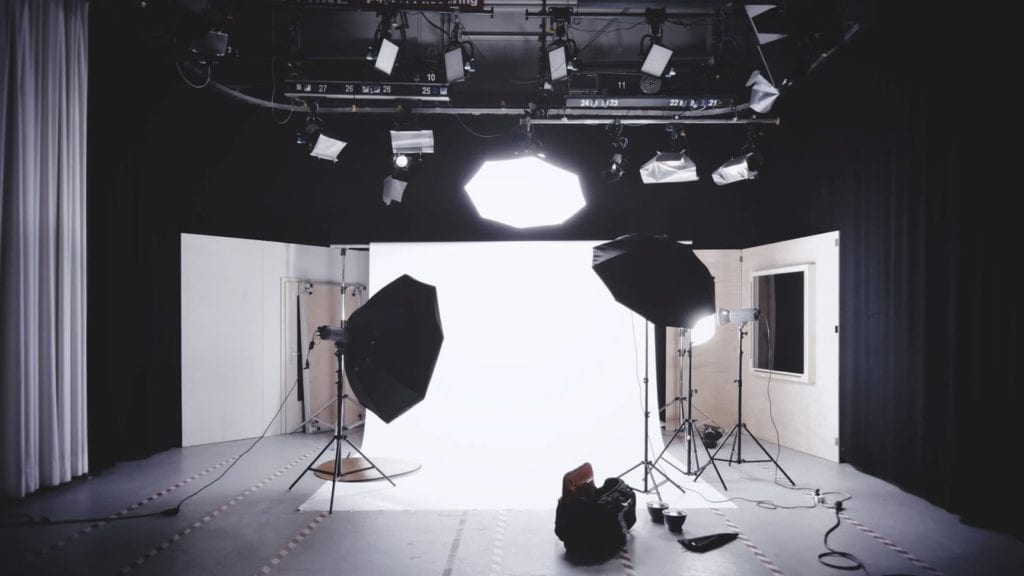
Understanding the basics of film lighting will set you up for more advanced techniques later on. When planning out your lighting setups, it’s important to consider the factors that can affect the lighting in your shot.
These factors include your location, time of day, ambient light, etc. Your job as a filmmaker will be to manage and manipulate these factors so that the visual look of your film is how you envisioned it when writing the script.
Your lighting setup will also depend on the situation, whether it be a close-up, master shot with multiple subjects, or a fight scene. It will also depend on the type of film you’re planning to make. Your lighting techniques for your horror film or vary greatly from your romantic comedy, coming-of-age films.
To start, the most basic form of film lighting is a technique known as the three-point lighting setup.
The three-point lighting setup is a technique utilizing three lights — the key light, fill light, and the backlight. These lights are placed in a triangle formation around the subject — one on the right, left, and behind.
The Key Light
The key light is the primary source of light in the three-point lighting setup. It’s also the brightest light of the three and its job is to illuminate the subject on screen.
The Fill Light
The fill light is a less powerful light placed opposite the key light. Its main job is to fill any shadows created by the key light.
The Backlight
The backlight is placed behind the subject and is generally utilized to create depth and to separate the subject from the background. Typically, the backlight is placed above the subject and when placed at an angle, it’s known as a “kicker.”
Check out this quick YouTube video, “Indie Filmmaker: Lighting Tutorial and samples,” by Lights Film School, to learn more about how each light affects the subject on the screen and how it evokes different moods and effects.
Low Key Lighting
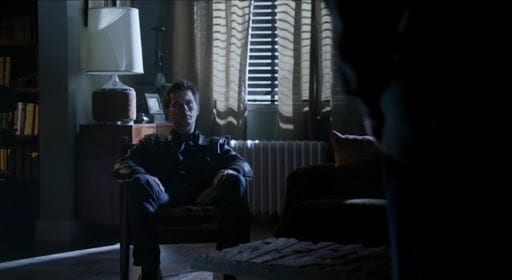
Now that you have a basic understanding of the three-point lighting setup, you will need to learn how each of these lights affects the overall mood and tone of your scene.
Low key lighting is a lighting technique that utilizes a harsh source of light while minimizing or eliminating, the fill lights. The goal of low-key lighting is to create contrast and shadows to build a more dramatic or scary mood for your audience.
High Key Lighting
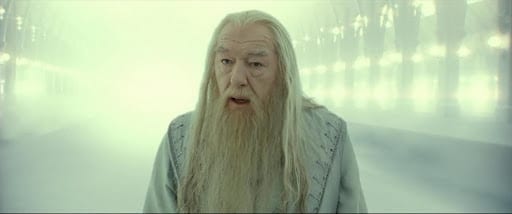
High key lighting is the opposite of low key lighting where this technique aims to reduce the lighting ratio as much as possible. In other words, it’s a lighting setup with a very bright key light and lots of fill light.
The key light is typically placed at a higher level and shines down on the subject. The bright look that high key lighting gives is generally used for a more uplifting and optimistic mood.
Use Natural Lighting To Your Advantage
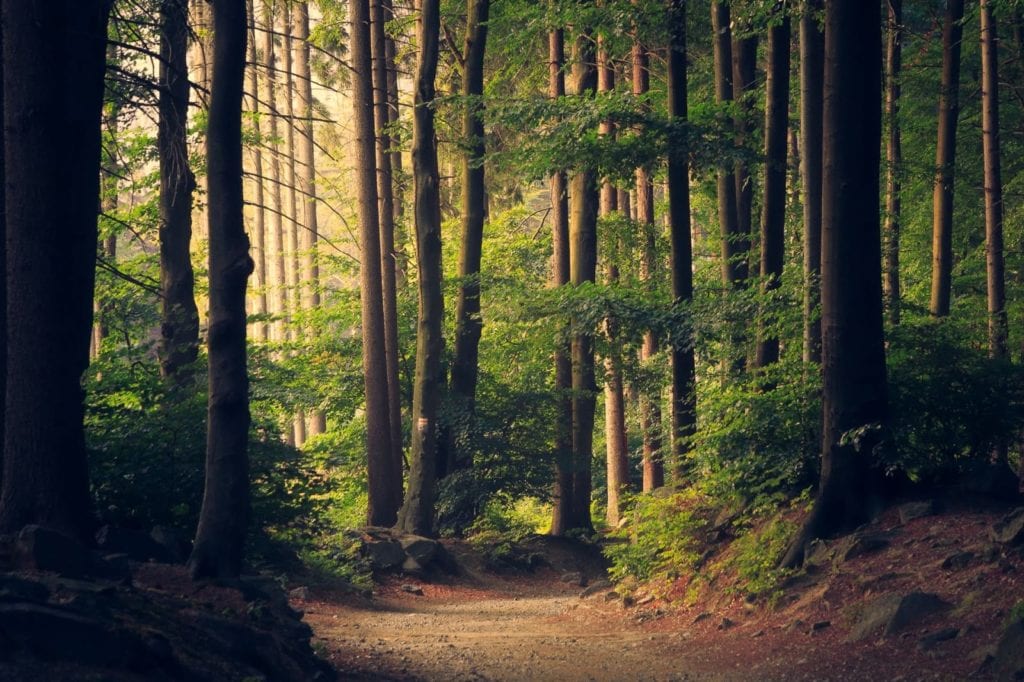
Sometimes you may not need any film lighting equipment in certain scenarios — one of them being exterior scenes.
Natural film lighting techniques are when filmmakers utilize sources of light that are already available at the location. Generally, natural light refers to the sun when filming outdoors.
Choosing to run with natural light for your film can be a very cost and time-effective method. You won’t need to save up on equipment or spend great sums of time moving and setting up your lighting equipment. The sun will move naturally.
However, when utilizing natural light, you must take the time to plan ahead. You will need to take into account the time of day you will need to shoot to get the specific shot you’re looking for — whether it’s a shot of someone sitting outside watching the sunset or someone walking through the city in the early afternoon.
Take a look at our previous blog on exterior film lighting setups for information on this.
We recommend scouting and testing out shots before deciding on exterior locations to film. Scouting your exterior location can help you determine how the light will look on your camera. It can also help you decide if you need to bring additional equipment for the shoot — such as lights, flags, or bounce boards.
Check out our previous blog on location scouting if you’d like to learn more about this important pre-production process.
Bounce Lighting
If you’re filming at an exterior location, you should consider using materials used to bounce light from a source onto your subject. The typical material used to bounce light are reflectors.
The light reflected from your reflector can fill any unwanted shadows and can help brighten your subject the way you want it.
If you’re aiming to reduce the amount of light coming from a specific source, you can use blag flags. Black flags negate light and can allow you to manipulate the amount of light in your shot.
Utilize Practical Lighting
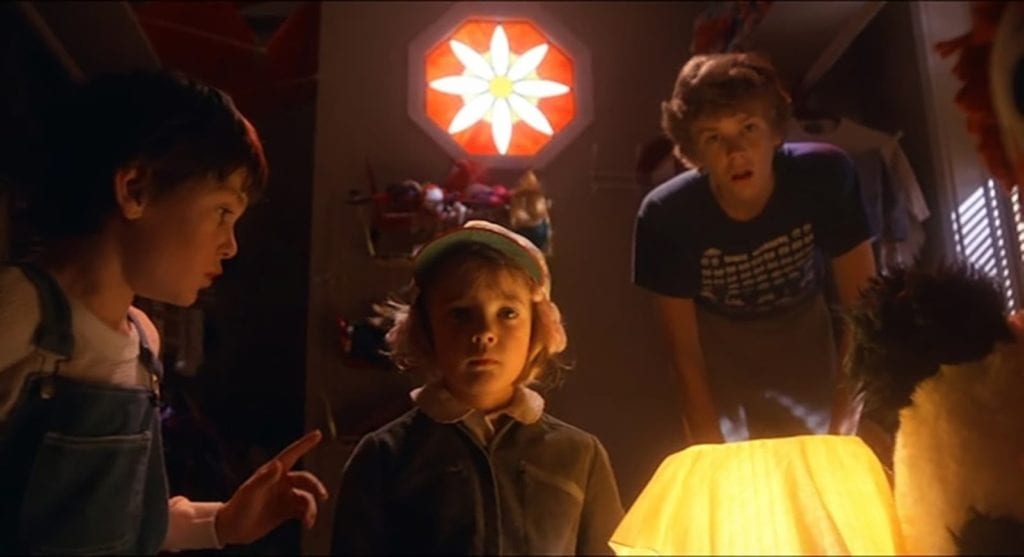
Practical lighting is another cost and time effective lighting setup filmmakers like to use on set. This is a film lighting technique where props used in a scene — such as lamps, candles, fires, car headlights, etc — are used as the primary light source.
This technique is often used when you need to shoot a scene in a wide frame or with a lot of camera movements. You don’t want your lights exposing themselves in your shot.
Utilize Motivational Lighting
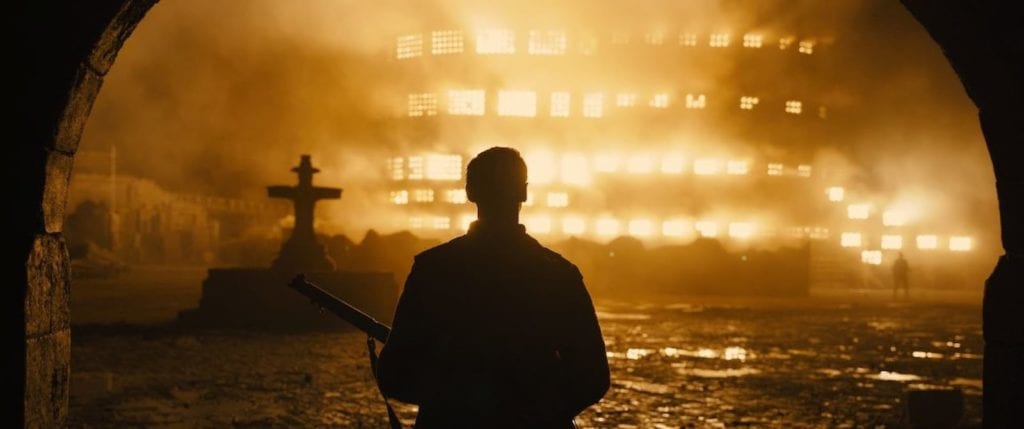
When you’re planning out your lighting setup for a specific shot or scene, you will need to take into account where the light sources are coming from at your specific location.
Sometimes practical or natural lighting effects at the location you’re shooting at aren’t enough to create the look you’re going for. Many filmmakers utilize the motivational lighting technique to enhance and bring out those sources of light on set to create the mood they’re going for.
For example, cinematographer Roger Deakins utilizes this technique in 1917 when he created a lighting setup to imitate the massive orange glow of the burning church.
Check out this Youtube video, “Cinematic Lighting on Any Budget,” by Aputure to learn more about this technique and the equipment you can use when utilizing it.
Don’t Forget About Ambient Light
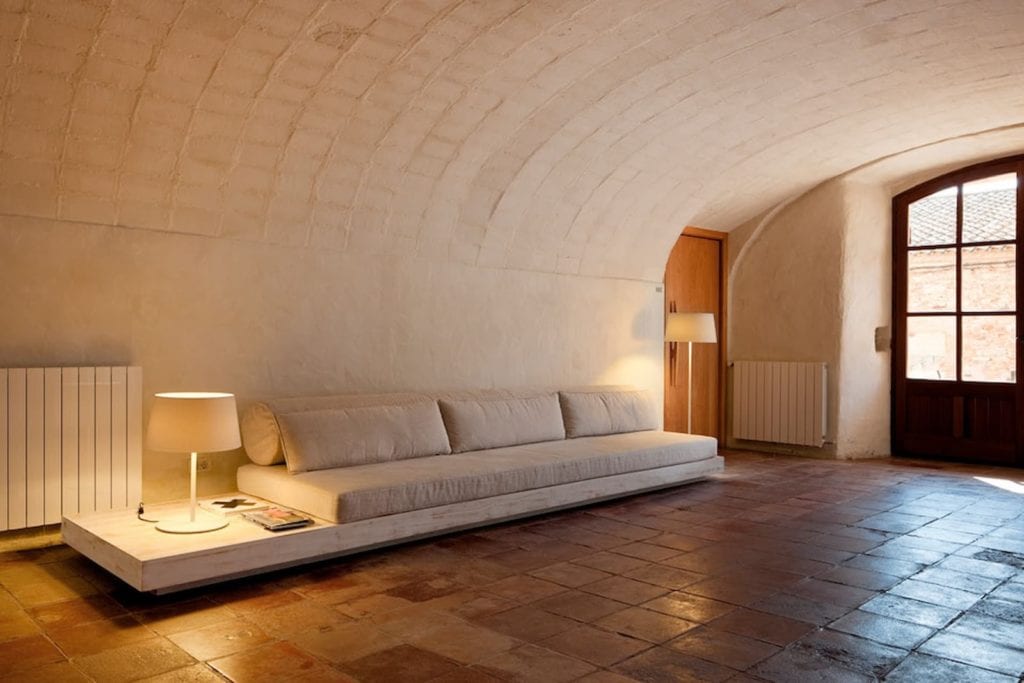
Remember, just like you would account for unwanted ambient sound at specific locations, always account for ambient light.
Ambient light is natural and practical light sources at specific locations. These light sources can vary depending on the type of location you’re shooting at and the time of day. As time goes on, ambient light will change, especially if you’re shooting a scene outdoors or near a window.
So, because of this, you should take the time to plan with your cinematographer before it’s too late. Creating a production schedule can be a great idea so that you have a well-sketched-out plan and time window for shooting specific scenes with lots of ambient light.
Creating a production schedule is a crucial component of the pre-production process and can help make your film shoots run smoother. Read more about creating production schedules at our previous blog on the importance of pre-production to learn more.
Conclusion
Circling back to what Roger Deakins said about film lighting — don’t forget what makes up the essence of effective film lighting. Hopefully, you’ve gained a better idea of what film lighting is and how important it is on set, but the perfect lighting technique comes from your imagination.
The techniques we’ve discussed are common and effective ways to light scenes, but some of the best work from cinematographers have come from within. The way you light a scene is supposed to evoke emotion and some kind of feeling from the audience. Y
You’re going to need to figure out what mood you’re trying to evoke and how you will show that on the screen.
If you need funding for any lighting equipment or other aspects of your film production, check out our one-sentence pitch competition for a chance to win up to $10,000 in funding.